
Table of Contents
- Essential Gardening Tools for Beginners: What You Actually Need
- Benefits of American Made Gardening Equipment: Quality You Can Feel
- Choosing the Right Shovel or Spade for Your Soil
- Pruning and Cutting Tool Selection: Shears, Loppers, and Snips
- Maintenance and Care for Heirloom Tools
- Tool Storage and Organization for Small Spaces
- Budget-Friendly Starter Kits and Where to Save
- Frequently Asked Questions
Last Updated: September 12, 2026
Essential Gardening Tools for Beginners: What You Actually Need
The fastest way to waste money is a 12-piece tool set in a blister pack, most of it rusts within a season. If you want american made gardening tools for beginners that last, start with five implements and skip the rest until you know what your soil demands.
The Core Five: Trowel, Hand Cultivator, Pruning Shears, Spade, and Weeding Tool
Five tools cover nearly every job in a raised bed or vegetable patch. Buy these first, and buy them well.
- Hand trowel for transplanting seedlings and working compost into the top few inches
- Hand cultivator for breaking crusted soil and uprooting shallow weeds between rows
- Pruning shears for stems up to roughly a pencil's thickness
- Spade for edging beds, lifting root balls, and turning compost
- Weeding tool for taproots like dandelion and thistle that a cultivator just snaps off
A common mistake is buying a full-size shovel when a spade is what the job calls for. A spade has a flat, squared blade for cutting and lifting; a shovel has a scooped blade for moving loose material. Beginners usually need the spade first.
Beginner-Specific Tool Sizing: Why Smaller Hands and Raised Beds Change Everything
Tool sizing matters more than brand, and most buying guides ignore it. A trowel with a 5-inch handle forces a tight, wrist-heavy grip that tires you in twenty minutes. Look for a handle that fills your palm without your fingers wrapping past the base.
For raised beds, long-handled tools become awkward fast. A standard spade handle puts you at a steep angle over a 12-inch bed wall; short-handled and mid-length tools keep your back straighter and your strokes controlled.
Benefits of American Made Gardening Equipment: Quality You Can Feel
Domestic manufacturing isn't nostalgia, it's a materials decision. The difference between a tool that lasts twenty years and one that lasts two comes down to how the steel was shaped, how it was heat-treated, and whether the handle can be replaced.
The benefits of american made gardening equipment come down to three things: steel that's actually tempered, handles that can be re-hafted, and a supply chain close enough to stand behind the product with parts and service.
Hand-Forged vs. Mass-Produced: What the Difference Means for a Beginner
Hand-forged means the head is shaped under repeated hammer blows or a drop forge. That working aligns the steel's grain in the direction of the tool's load, producing a head that flexes under impact and returns to shape instead of cracking.
Mass-produced heads are typically stamped from flat sheet stock, then given a thin chrome or powder coating. Stamping shears the steel's grain rather than aligning it, and the thin cross-section has no room to absorb a strike. Hit a buried rock and the edge rolls, dents, or chips.
For a beginner, the test is simple: a forged trowel survives rocky soil; a stamped one dents the first time you hit a stone.
How to Tell a Forged Head from a Stamped One in the Store
You don't need a metallurgy degree to spot the difference. Look for these cues:
- Weight and balance. A forged head feels denser and carries its weight forward, toward the cutting edge. A stamped head feels light and hollow, with most of the mass in the handle.
- The transition at the socket. On a forged tool, the metal thickens gradually where the head meets the handle, forming a smooth taper. On a stamped tool, the head is a uniform thickness that ends abruptly at a weld or a folded seam.
- The edge. A forged edge is thicker behind the bevel and tapers to a fine, even line. A stamped edge is often the same thickness as the rest of the blade, sharpened on one side only.
- The finish. Forging leaves a slightly irregular, hammered or scaled surface. Stamping leaves a perfectly flat, uniform face, often with a visible die line running around the perimeter.
- The tang. A forged tool usually has a tang that runs deep into the handle and is visible at the top or bottom. A stamped tool often has a short, flat tang spot-welded to a ferrule.
Repairability vs. Replaceability: The Long-Term Math
The real cost of a cheap tool isn't the purchase price, it's the replacement cycle. A tool with a pinned or wedged handle can be re-hafted with a new ash or hickory handle when the original splits; a permanently bonded plastic or fiberglass handle goes in the trash the day it fails.
Look for a visible tang running into the handle and a rivet, pin, or wedge you can drive out with a punch. That's a tool you can fix, the single biggest reason heirloom quality matters to a beginner: you buy once, then you maintain.
Long-time gardeners often keep two or three handles on hand. When a spade handle cracks after a decade, the replacement takes ten minutes and costs less than a new tool, and the head, the expensive part, keeps working.
Forged vs. stamped tool construction explained by a U.S. toolmaker
Choosing the Right Shovel or Spade for Your Soil
Match the blade to your ground and the handle to your body, not the label on the rack. Sandy loam takes a standard spade easily; heavy clay needs a narrower blade and a sharp edge so you're slicing rather than fighting; rocky ground calls for a forged, heavy-duty head that won't chip.
Shovel vs. Spade: They Are Not the Same Tool
A spade has a flat, squared blade with a straight edge, built for cutting and lifting. A shovel has a scooped, dished blade for moving loose material like mulch, gravel, or compost. Beginners usually need the spade first, because most garden jobs are cutting and lifting, not hauling.
- Spade: edging beds, slicing through sod, lifting root balls, turning compost in place
- Shovel: moving soil, mulch, or gravel from a pile to a bed or wheelbarrow
- Border spade: a smaller spade with a shorter shaft, sized for raised beds and tight planting areas
- Trenching shovel: a narrow, long blade for digging deep, narrow holes for drainage or bulbs
Match the Handle to Your Height, Not the Rack
This sizing step decides whether you finish a bed with a sore back or a sore wrist. The rule of thumb: stand the tool upright beside you. The top of the handle should reach roughly mid-chest for a digging spade, and about armpit height for a shovel you'll be lifting material with.
- Under 5'4": look for a border spade or a short-shaft spade, often sold with a 28- to 32-inch handle
- 5'4" to 5'10": a standard spade with a 32- to 36-inch handle usually lands at mid-chest
- Over 5'10": a long-handled spade or a full-size shovel with a 40-inch-plus shaft keeps you from stooping
For raised beds, drop down one size. A border spade or mid-length tool keeps your back straighter and your strokes controlled over a 12-inch bed wall.
Match the Blade to Your Soil
- Sandy or loamy soil: standard spade, 8- to 9-inch blade, sharpened edge
- Heavy clay: narrow spade with a sharpened edge, step on the shoulder to drive it
- Rocky or compacted ground: forged head, short D-handle for control, avoid thin stamped blades
- Raised beds: border spade, shorter shaft to keep your angle upright
- Planting bulbs or deep-rooted crops: trenching shovel with a narrow, long blade
A sharp spade beats a strong one. Keep a mill file handy and touch up the edge every few sessions. Digging performance improves more from sharpness than from any spec on the package. A dull spade forces you to push harder, which is how handles snap and how you end up with back strain.
Technique: How to Dig Without Wrecking Your Back
- Keep the tool close. Stand with the blade near your foot, not out at arm's length.
- Use your leg, not your back. Drive the blade with your foot on the shoulder, then lever the handle back with your hips.
- Lift with your legs. Bend your knees to raise the load, and keep the blade close to your body.
- Work in small bites. A half-blade of soil per stroke is faster than a full blade you have to fight.
- Switch sides. Alternate your lead hand every few minutes to spread the load.
Pruning and Cutting Tool Selection: Shears, Loppers, and Snips
Buy by cut diameter, not handle color. Bypass pruners handle live green stems up to about a half inch; loppers take branches up to roughly 1.5 inches; hand snips are for deadheading and harvesting, not structural cuts.
For anything living, choose bypass blades over anvil blades. Bypass blades slice like scissors and leave a clean wound that heals; anvil blades crush the stem, which invites disease.
Carbon steel blades hold an edge longer but need drying and oiling after every wet session. Tempered steel with a rust-resistant coating is more forgiving if you leave tools out overnight.
Maintenance and Care for Heirloom Tools
Ten minutes of care after each session buys you years. The routine is short and unglamorous.
- Knock soil off with a stiff brush, not water
- Dry the head and the ferrule completely
- Wipe metal with a light oil to block corrosion
- File the cutting edge at the original bevel angle
- Store handles off the ground
A common mistake is hosing tools down and leaning them against a wall. Water sits in the socket where the handle meets the head, exactly where rot and rust start. A weatherproof finish helps, but it doesn't survive standing water.
Sharpening is where most beginners quit. Don't. Five passes with a mill file restores most edges, and a dull blade forces you to push harder, how handles snap and backs strain.
Tool Storage and Organization for Small Spaces
You don't need a shed, you need a wall. A simple rail with hooks holds five long-handled tools in the footprint of a single broom and keeps blades off the floor where moisture collects.
For hand tools, a canvas roll keeps trowels and pruners separated and dry, and hangs flat against a garage wall. A bucket with a divided insert works if you're renting and can't drill.
The rule that matters: store metal dry and store it off concrete. Concrete wicks moisture, and a trowel left on a garage floor will show rust within a week.
Budget-Friendly Starter Kits and Where to Save
Spend on the head, save on the handle. A forged head with a plain ash wood handle costs less than the same head with a molded composite grip and performs identically, the single best place to cut cost without cutting quality.
Where to save:
- Skip the multi-tool kits; buy the five core tools individually
- Choose plain wood handles over branded grips
- Buy one good pair of pruners instead of three cheap pairs
Where not to save:
- The cutting edge on pruners and spades
- Anything with a welded joint instead of a forged one
- A tool you can't re-handle
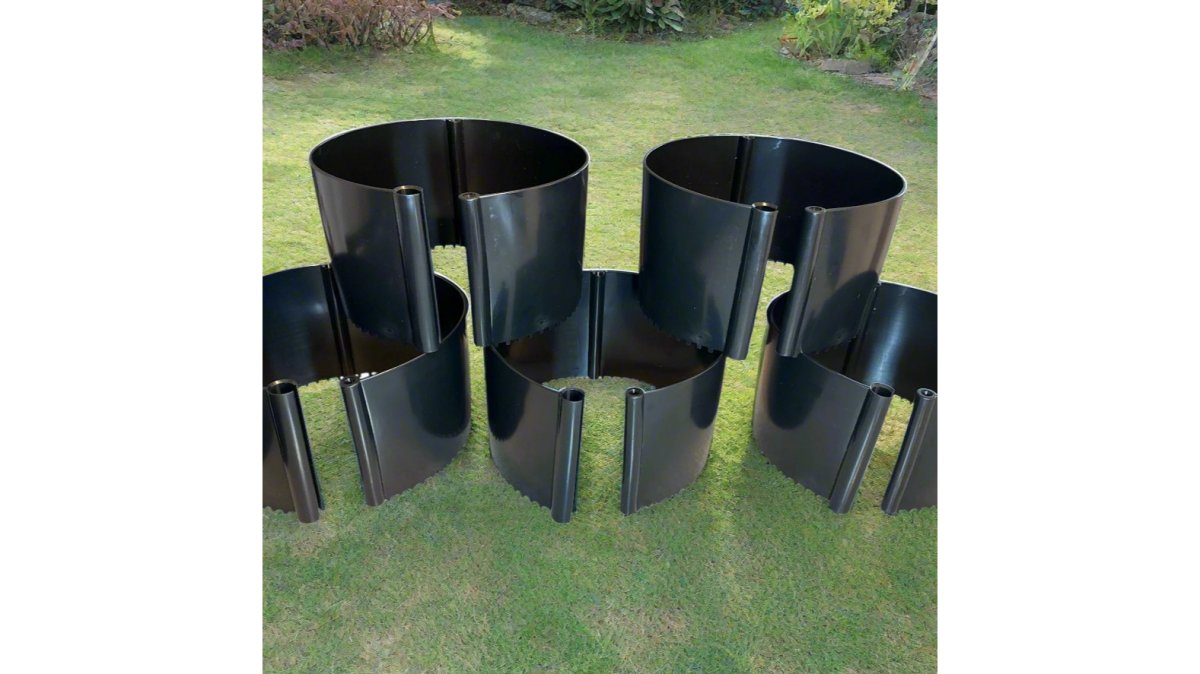
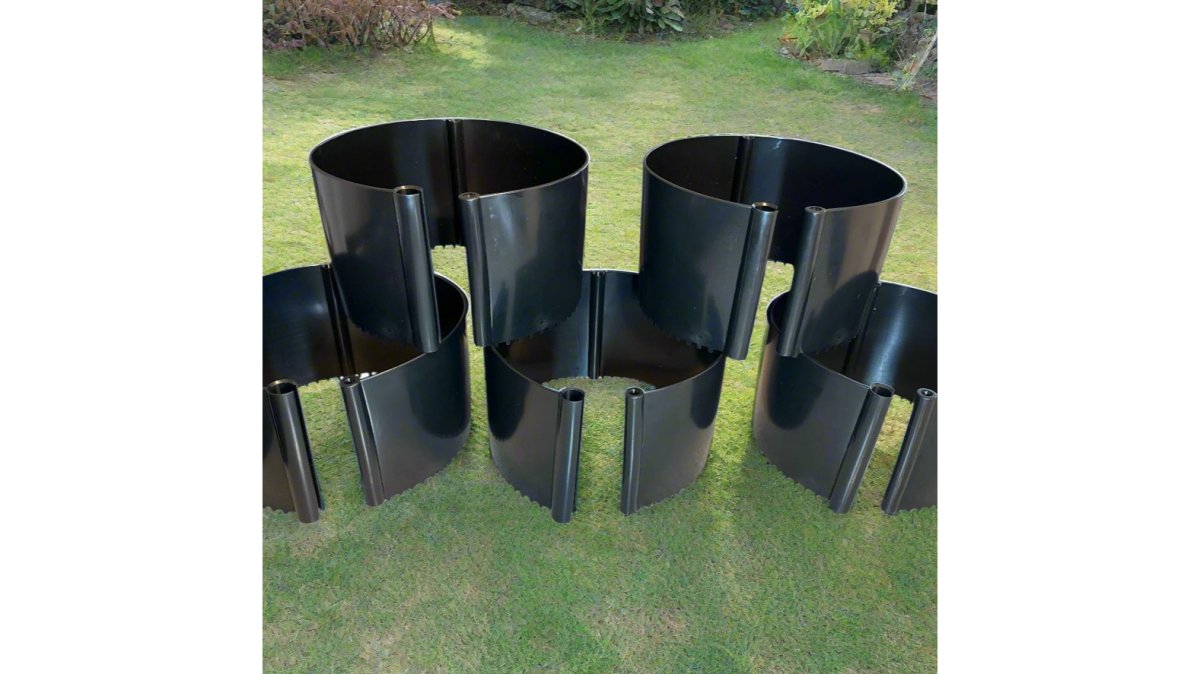
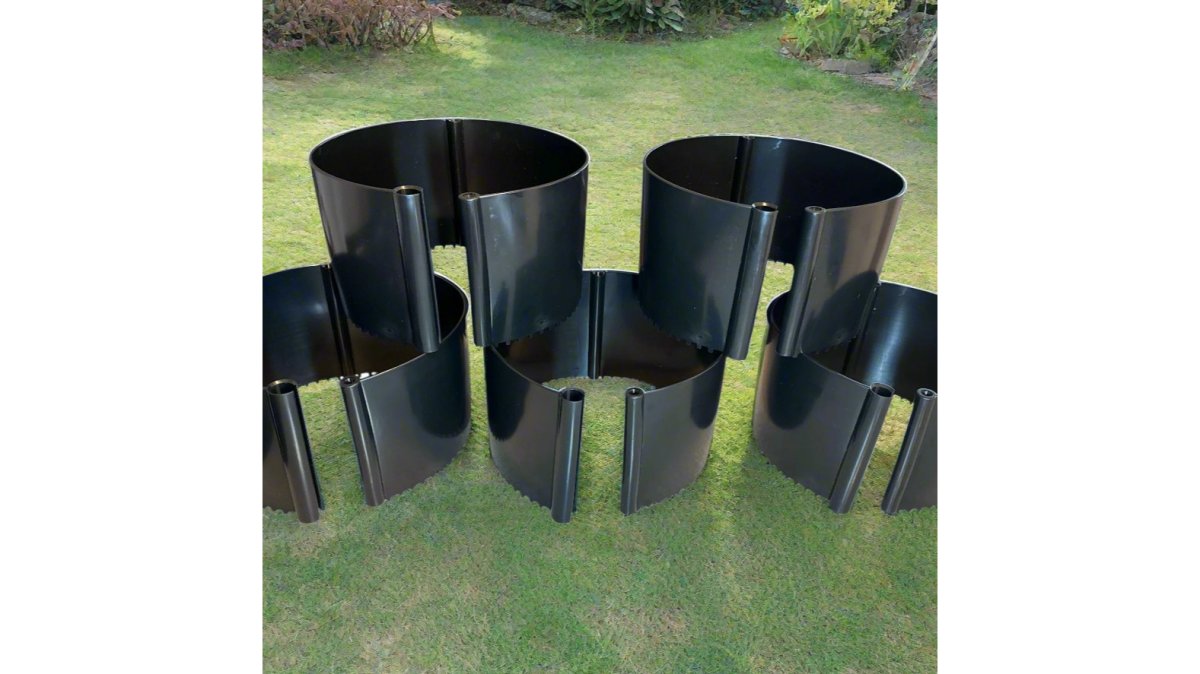
For watering, the same logic applies to how you deliver water. A ring that holds up to 2 gallons and seals water-tight at the root zone cuts evaporation and runoff, which matters most on sloped beds. The Garden Water Ring is a one-piece, weather-resistant design with a locking seal, so it holds up through a full season of sun and stays put on uneven ground.
| Tool | What to Look For | Where to Save | Where to Spend |
|---|---|---|---|
| Hand trowel | Forged head, tang into handle | Plain wood grip | Steel quality |
| Hand cultivator | Rigid tines, no flex | Handle finish | Tine thickness |
| Pruning shears | Bypass blades, replaceable spring | Brand name | Blade steel |
| Spade | Forged head, sharpened edge | Grip style | Head construction |
| Weeding tool | Long narrow blade for taproots | Handle length | Blade temper |
Frequently Asked Questions
What are the best American-made garden tools for beginners?
Start with a hand trowel, hand cultivator, pruning shears, spade, and weeding tool. Look for tools made from carbon steel or tempered steel with ash wood handles. These materials offer durability and grip comfort. Brands that manufacture in the USA often provide lifetime warranties, so you can replace or repair rather than rebuy each season. Focus on forged metal construction for digging performance and blade sharpness that holds up.
How can I verify if gardening tools are truly made in the USA?
Check the packaging and product description for a 'Made in USA' label. The Federal Trade Commission (FTC) enforces strict standards: a product must be 'all or virtually all' made in the United States to carry that claim. Look for specific wording like 'Manufactured in the USA' or 'USA Owned & Operated.' If the claim is vague, contact the company directly and ask where the steel is sourced and where the tool is assembled.
Why should beginners invest in heirloom-quality garden tools?
Heirloom-quality tools are hand-forged from carbon steel or tempered steel, resist rust with proper care, and often come with lifetime warranties. For a beginner, this means you buy once and maintain rather than replacing cheap tools every year.
Are American-made shovels more durable than imported alternatives?
American-made shovels often use heavier-gauge steel and forged metal construction, which resists bending when digging in rocky or clay soil. Imported shovels may use thinner metal that can crack under pressure. The difference shows in digging performance and how well the tool holds up after repeated use.
Beginner gardening rewards patience more than spending. Buy five good tools, keep them sharp and dry, and add pieces only when a specific job demands it. Garden Water Ring makes a root-zone watering ring with a patented, water-tight locking seal that holds up to 2 gallons, works on sloped ground, and cuts both evaporation and watering frequency. Start with the tools you'll keep for twenty years, then shop the Garden Water Ring to take watering off your daily list.

Leave a comment
This site is protected by hCaptcha and the hCaptcha Privacy Policy and Terms of Service apply.