

Table of Contents
- Why Water Runs Off Slopes and What It Costs You
- Step 1: Read Your Slope Gradient and Soil Infiltration Rate
- Step 2: Build Berms and Swales to Slow Water Down
- Step 3: Use Cycle-and-Soak to Match Water Absorption
- Step 4: Set Up Drip Irrigation for Slopes
- Step 5: Choose the Best Mulch for Hillsides
- Step 6: Zone Your Plants by Slope Position and Water Need
- Step 7: Add Smart Controllers and Keep the System Maintained
- Frequently Asked Questions
Last Updated: September 13, 2026
Why Water Runs Off Slopes and What It Costs You
Watering a sloped bed is different from flat ground. Learning how to water plants on slopes starts with gravity: it pulls moisture downhill before it can soak in, so the top dries out while the bottom turns to mud.
Runoff is applied water that flows across the surface instead of infiltrating. On a moderate slope, a fast hose or sprinkler pushes water off faster than the soil can absorb it, wasting water and starving roots.
The fix isn't more water, it's slowing water down so it can sink in. This guide from Garden Water Ring covers seven steps that keep moisture where the roots are.

Step 1: Read Your Slope Gradient and Soil Infiltration Rate
Measure two things: how steep the bed is and how fast your soil drinks.
Slope gradient is rise over run, expressed as a percentage. A bed that climbs one foot over ten feet is a 10% slope. Anything above roughly 10% changes how you water.
Infiltration rate matters just as much. Field test: dig a small hole, fill it with water, and time how long it takes to disappear. Sandy soil drains fast; clay can take hours. That timing tells you how long each watering cycle should run before runoff starts.
Step 2: Build Berms and Swales to Slow Water Down
Berms and swales are your first line of defense against runoff. A berm is a low mound of soil that blocks water from racing downhill. A swale is a shallow, level trench that catches water and lets it percolate in.
Run swales along the contour, not straight down the hill. Each acts as a small catch basin: water pools briefly, soaks in, and overflow moves to the next swale below, giving water time to reach the root zone.
A common mistake is making swales too steep: a swale that tilts downhill becomes a channel and speeds up runoff instead of slowing it.
Step 3: Use Cycle-and-Soak to Match Water Absorption
Cycle-and-soak means running water in short bursts with pauses between: apply, stop, let it soak in, then apply again.
The pause is the point. Water needs time to move down through the soil, and sloped ground gives it a head start downhill. One long session just feeds runoff; two or three shorter cycles let each application infiltrate before the next.
Most gardeners find two or three cycles spaced 30 to 60 minutes apart keep water on the bed instead of in the street. Adjust the count based on your Step 1 infiltration test.
Step 4: Set Up Drip Irrigation for Slopes
Drip irrigation for slopes delivers water slowly and directly to the root zone. Unlike sprinklers, drip lines release water at a low flow rate so soil absorbs it as it arrives.
Run lateral lines along the contour, not up and down. A downhill line dumps all its water at the low end; contour placement keeps pressure even and spreads water across the bed.
Pressure-Compensating Emitters and Lateral Line Placement
Pressure-compensating emitters release a consistent flow rate regardless of elevation changes. Standard emitters flood the low end and starve the high end; pressure-compensating models regulate output at each emitter.
Keep emitter spacing tight enough that wet zones overlap, at 12 inches apart, each moisture zone should meet the next before it dries. On steeper ground, tighten further.
Soaker hoses are a low-cost alternative, but they clog faster and deliver uneven flow on long runs.
Step 5: Choose the Best Mulch for Hillsides
The best mulch for hillsides stays put. Light materials like straw or grass clippings wash downhill in the first heavy rain; heavier options hold position and shade the soil.
| Mulch Type | Holds on Slope? | Moisture Retention | Notes |
|---|---|---|---|
| Wood chips | Yes | High | Best all-rounder for sloped beds |
| Pine bark nuggets | Yes | High | Slow to break down |
| Straw | Poor | Medium | Blows and washes away |
| Grass clippings | Poor | Medium | Mats down, then slides |
| Gravel | Yes | Low | Good for drought plants |
Apply two to three inches, pulled back a few inches from plant stems so it doesn't hold moisture against the crown. Mulch slows evaporation and keeps the surface open so water percolates rather than sheets off.
Step 6: Zone Your Plants by Slope Position and Water Need
Slope-specific plant zoning means grouping plants by water need and position on the hill. The top dries first, the bottom stays wettest longest, and the middle is the transition zone. This is hydro-zoning, the most overlooked step in slope gardening, most guides say pick drought-tolerant plants and stop there, without noting that the same plant can thrive or struggle depending on where it sits.
The Three Slope Zones
Think of your slope as three bands, each with its own moisture profile and plant list.
Top zone (driest). Water sheds away fastest here, and it's often the most exposed to sun and wind. Drought-tolerant plants belong here: lavender, rosemary, sedum, thyme, yarrow, and ornamental grasses like blue fescue. Native prairie and chaparral species are strong choices because they handle dry, well-drained ground and their deep roots knit the soil together. Avoid vegetables, hydrangeas, or anything "moisture-loving" at the top, you'll fight gravity all season.
Middle zone (moderate). Water passes through on its way downhill, so it holds moisture longer than the top but drains faster than the bottom. This is the most flexible zone: most perennials, herbs, and many shrubs do well, including coneflower, black-eyed Susan, salvia, and daylilies. It's also the safest band for vegetables on a slope, it drains well enough to avoid rot but holds enough moisture between waterings.
Bottom zone (wettest). Water collects here, and in heavy clay it can stay saturated for days. Plants that tolerate "wet feet" belong here, ferns, astilbe, bee balm, Joe Pye weed, and moisture-loving shrubs like red twig dogwood. Avoid drought-tolerant plants here; their roots rot in consistently wet soil. If the bottom pools badly, consider a rain garden instead of a standard bed.
Why Position Beats Plant List
The same species behaves differently depending on where it sits. Rosemary at the bottom of a slope in heavy soil will likely rot; at the top in the same soil it thrives. Sedum stays compact at the top but turns mushy at the bottom in wet soil. Matching water tolerance to the zone's actual moisture matters more than the plant list.
To test this before planting: after a heavy rain, walk the slope and note where water stands, where it sheets off, and where soil stays damp longest. That map tells you which zone is which far more reliably than eyeballing the grade.
Anchoring the Top Zone With Natives
Native vegetation is a smart anchor for the top zone. Adapted to local rainfall and soil, natives need less supplemental water, and their deeper, more fibrous roots hold the slope together. On steeper ground they do double duty: drink less and fight erosion. Check your state's cooperative extension service or a local native plant society for species suited to your region.
A Note on Transition Bands
The zones aren't hard lines, plants near a boundary get a blend of both moisture profiles. If unsure where a plant belongs, place it near the middle of a zone rather than the edge, and watch it through one full season before committing more of the same species.
Step 7: Add Smart Controllers and Keep the System Maintained
A smart irrigation controller adjusts your schedule based on weather and soil conditions, so you're not running cycles during rain or overwatering in cool spells. Many models use local evapotranspiration (ET) data, which estimates daily moisture loss. For slope gardens, a smart controller earns its keep by skipping cycles after rain and shortening run times when humidity is high.
Pairing Soil Moisture Sensors With a Slope
Most slope guides stop at "get a smart controller." The harder question is where the sensors go, because a single reading is nearly useless on a hill. If you place one sensor at the bottom, the controller thinks the whole bed is saturated and shuts off while the top zone is bone dry.
The fix is zone-by-zone sensing. Run separate valve zones for the top, middle, and bottom, with at least one soil moisture sensor in each. Bury the probe in the active root zone, 4 to 6 inches for annuals and shallow perennials, 6 to 12 inches for shrubs and trees. Install it a few feet downhill from the emitter, not directly under it, so it reads moisture that has spread through the soil rather than the concentrated wet spot.
Programming Cycle-and-Soak Into the Controller
A smart controller only helps if its schedule matches how water behaves on a slope. Set each zone to run short cycles with soak time between them, then let moisture readings decide whether the next cycle is needed. A common pattern: start a cycle, pause 30 to 60 minutes, then run a second only if the sensor still reads below its threshold. This is the Step 3 cycle-and-soak logic, with sensor data replacing guesswork.
Two settings matter most on sloped ground:
- Rain delay and rain sensor. A wired or wireless rain sensor shuts the zone off after measurable rainfall. On a slope, this matters more than on flat ground because the bottom zone can stay saturated for days after the top has dried.
- Cycle-and-soak or "smart soak" mode. Many controllers include this as a built-in feature. Enable it, and set the soak time to at least 30 minutes so each pulse has time to infiltrate before the next one starts.
If your controller doesn't have built-in soak logic, approximate it by splitting one long run time into two or three shorter start times spaced an hour apart.
Maintaining a Slope Irrigation System
Maintenance is harder on a slope than on flat ground, and most guides skip it. A few habits keep the system running:
- Flush drip lines each season. Open the end caps and run water until it comes out clear. Mineral buildup and grit collect at the low end of a sloped line; flushing clears them before they clog emitters.
- Check emitters zone by zone. Walk top to bottom and confirm each is discharging. A clogged emitter at the top starves that plant while the bottom keeps getting water it doesn't need.
- Re-secure lateral lines after heavy rain. Drip tubing can shift, kink, or pull loose from its stakes. Walk the lines after a storm and re-stake anything off contour.
- Inspect swales and berms. Rebuild any that have eroded or silted in, a sediment-filled swale stops catching water and starts channeling it downhill.
- Watch for leaks at the low end. Higher pressure builds at the bottom of a sloped line. If a puddle never dries, check the fittings and end caps there first.
- Winterize before the first freeze. Drain lines, blow them out if possible, and store removable components. Trapped water expands when it freezes and splits tubing and fittings.
Frequently Asked Questions
Does drip irrigation work on a slope?
Yes, but it needs pressure-compensating emitters so every plant gets the same flow rate regardless of elevation change. Standard emitters release more water at the bottom of a slope and less at the top. Run lateral lines along the contour, not straight downhill, and use cycle-and-soak scheduling so water has time to absorb before the next pulse. Drip irrigation for slopes paired with mulch cuts runoff dramatically compared to overhead sprinklers.
How do you prevent soil erosion when watering a slope?
Slow the water down before it picks up speed. Cycle-and-soak watering gives each pulse time to percolate into the root zone instead of sheeting downhill. Add berms or swales on contour to catch and hold water, and cover bare soil with 2 to 3 inches of mulch. Deep-rooted native vegetation also stabilizes soil. Water in short, repeated cycles rather than one long soak, and avoid watering during heavy rain forecasts.
What are the best mulching techniques for sloped garden beds?
Use heavier, coarse mulch that stays put: wood chips, bark nuggets, or gravel for drought-tolerant plantings. Apply 2 to 3 inches deep, and avoid fine mulch like sawdust that washes away. On steep slopes, lay mulch inside biodegradable netting or behind a shallow berm to hold it in place. Keep mulch a few inches back from plant stems to prevent rot, and refresh it once a year as it breaks down.
How much does a Garden Water Ring reduce watering frequency on a slope?
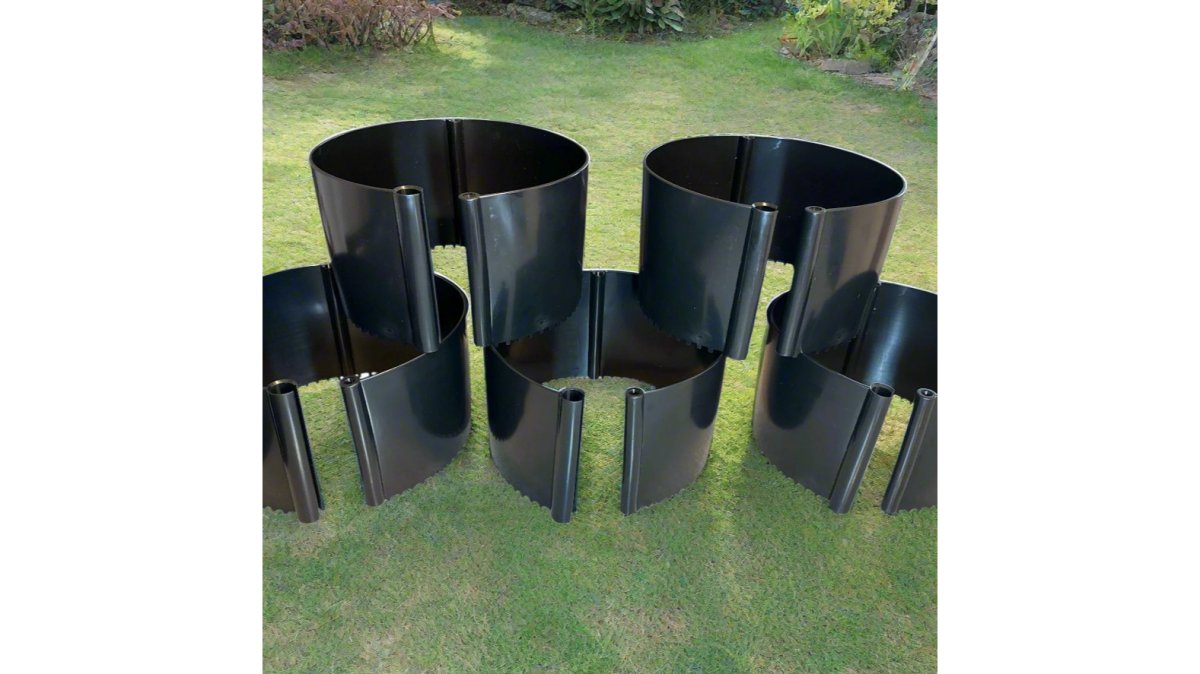
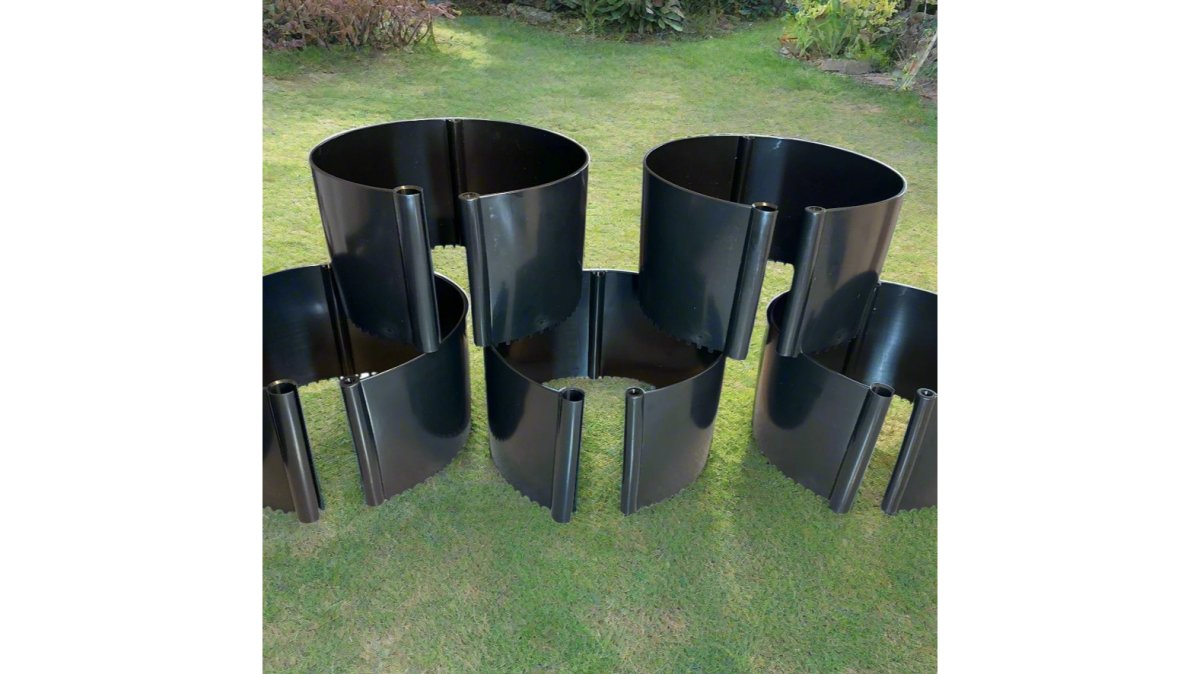
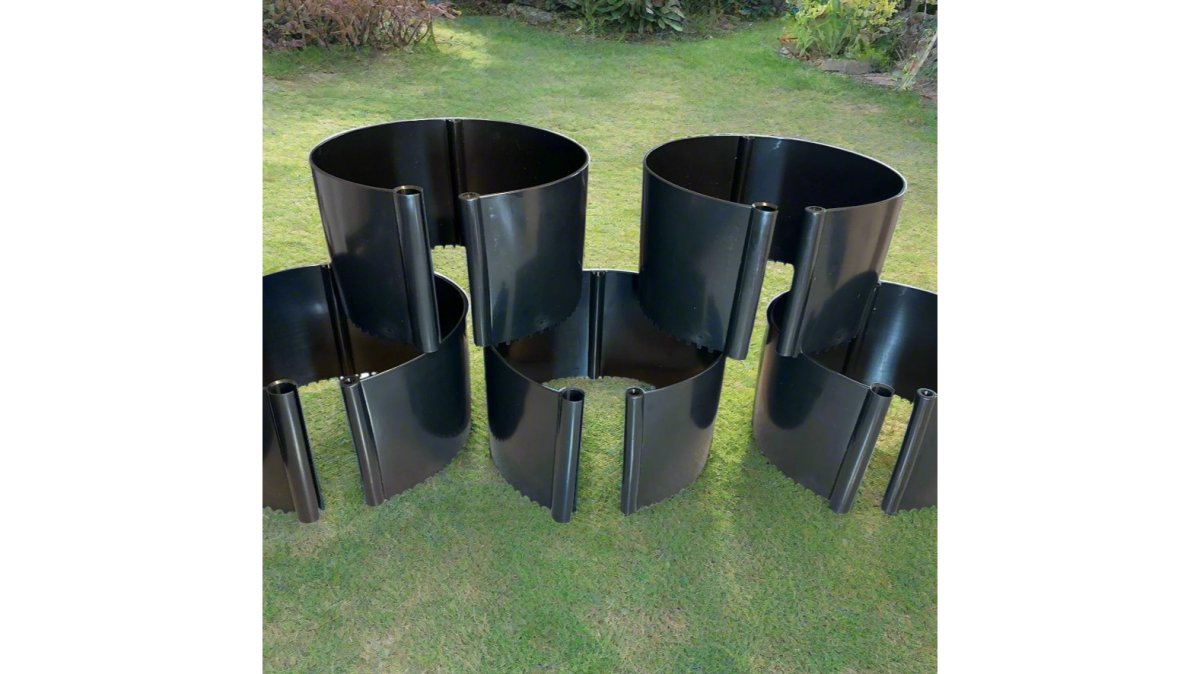
The Garden Water Ring holds up to 2 gallons of water and releases it slowly into the root zone, so it prevents the runoff you get from hose or sprinkler watering on a slope. That means water stays where roots can reach it instead of running downhill. Most gardeners find they can water less often because each fill delivers a deep soak. It is manufactured in the USA and comes with a 30-day money-back guarantee.

Leave a comment
This site is protected by hCaptcha and the hCaptcha Privacy Policy and Terms of Service apply.